The Benefits of Combining Plumbing and Heating Services in Nashua, NH
So your water heater just gave out and your furnace has been making strange noises. Now you’re scrambling trying to find a plumber and HVAC tech to get your home back to a comfortable temperature, all while juggling your busy work schedule. Wouldn’t it be nice if there was a single service provider you could call to handle all your plumbing and heating needs? Plumbing and heating are closely connected systems in your home, so it makes sense that the same professional service would be able to expertly address issues with both. A full-service provider can gain a better understanding of how your home’s systems interact and may even be able to provide bundled services at a lower cost. If you’re in the Nashua area, using a skilled trades company that offers comprehensive plumbing and heating service in Nashua, NH means fewer hassles and more peace of mind that all your home comfort needs will be taken care of.
How to Find the Best Plumbing and Heating Company in Nashua
Combining plumbing and heating services in Nashua, NH offers several benefits for homeowners.
Convenience
Working with a single contractor for all your plumbing and HVAC needs saves time and hassle. There’s no need to call multiple companies to handle issues, schedule multiple appointments, or deal with the blame game over who’s responsible for what. A full-service provider offers a one-stop solution.
Coordinated Service
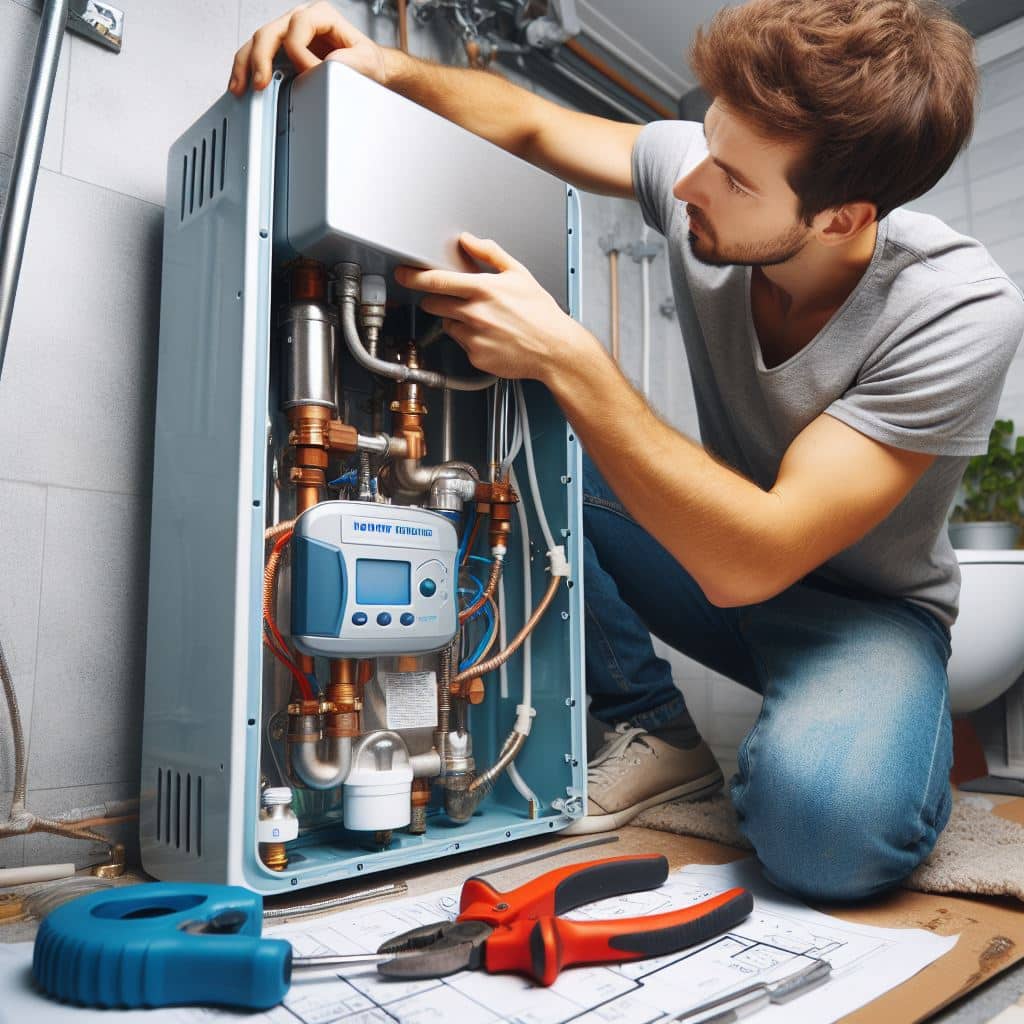
Plumbing and heating systems are interconnected, so problems with one can impact the other. A company that handles both will have a better understanding of how these systems work together. They can spot issues that affect the whole-home environment and fix them efficiently. This holistic approach reduces the chance of Band-Aid solutions that only patch part of the problem.
Potential Cost Savings
Using the same contractor for plumbing and heating projects may lead to lower costs. They can bundle services and offer package deals and discounts. Since they’re already familiar with your home’s systems, they can work faster without having to do initial assessments for each new task. Faster work means fewer hours billed and lower overall charges.
Established Relationship
Building a long-term relationship with a trusted service provider has significant benefits. They’ll get to know you, your home’s needs, and maintenance history over time. You’ll feel comfortable calling them for any issues and confident in their ability to resolve problems quickly. An established local company will also be there if you need emergency service or repairs.
What to Look for When Hiring a Plumbing and Heating Service in New Hampshire
Finding a reliable plumbing and heating company in Nashua that offers quality service at an affordable price can feel like an impossible task. There are so many options, so how do you choose? Here are some tips to find the best provider for your home:
Look for a company that offers both plumbing and HVAC services. Dealing with one provider for all your needs means better coordination, accountability, and often package deals or discounts on services. They understand how the systems interconnect in your home.
Check reviews from local customers. See what other homeowners in Nashua say about their experience. Were they responsive, on time, and reasonably priced? Did they stand behind their work? Online reviews on sites like Yelp or the company’s Google Business profile are helpful.
Ask about their level of experience, licensing, bonding and insurance. An established local company with certified techs will give you confidence in their work. Proper credentials prove they operate legally and safely.
Get multiple estimates for any major jobs. While going with a single trusted provider is ideal, for expensive services like boiler or AC replacement, compare a few written estimates. Make sure they are based on the same specs so you get the best overall value.
With some research, you can find a plumbing and heating service in Nashua that checks all the boxes. A reputable, experienced company that handles all your needs, offers fair pricing, and has a proven track record of quality work and customer satisfaction. Your one-stop provider for a warm, comfortable home.