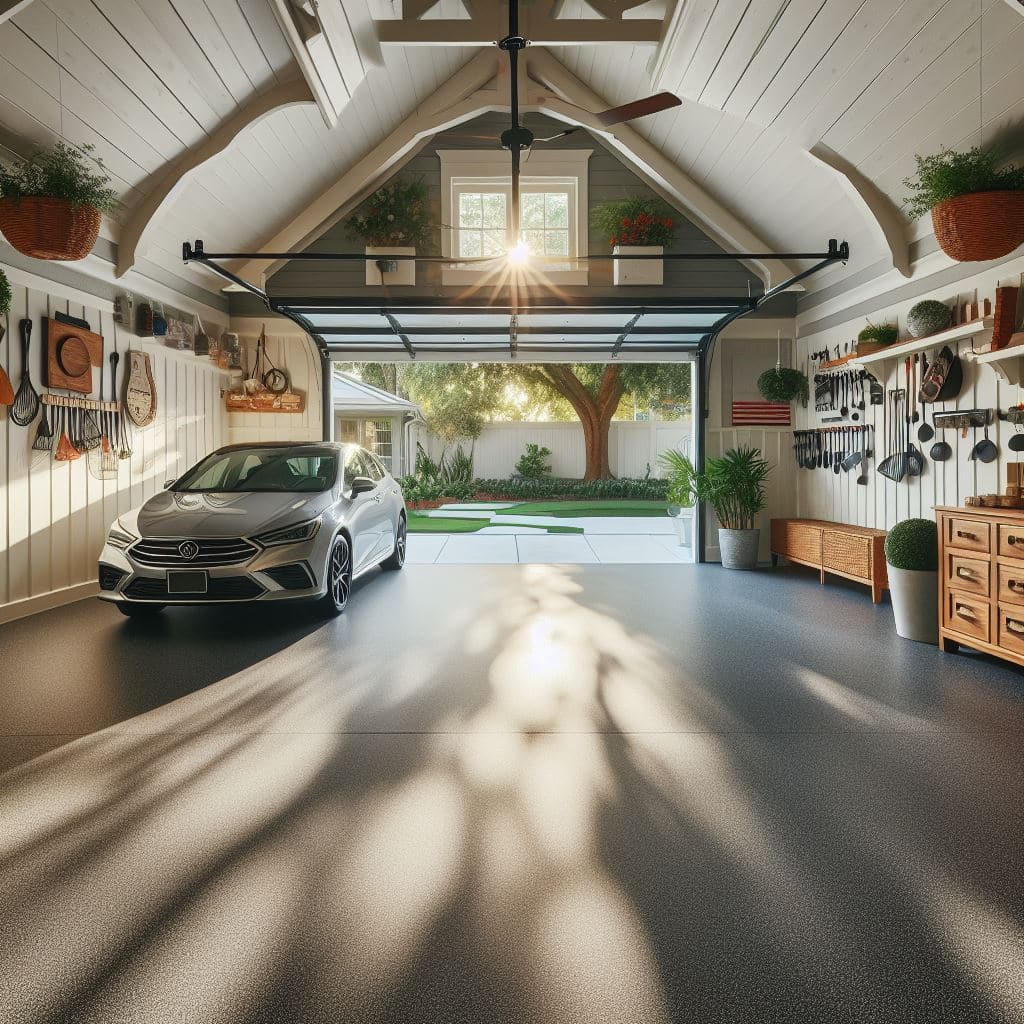
Preparing and Cleaning the Garage Floor for Coating in Orlando
Have you been thinking about getting your garage floor coated to give it a professional, durable finish? If so, you’ve come to the right place. Coating your garage floor is a project you can definitely do yourself if you’re reasonably handy and willing to put in some effort. The results will be well worth it. In this article, we’ll walk you through the 8 essential steps to coat your Orlando garage floor coating like a pro: from cleaning and preparing the concrete to applying a protective topcoat sealant. By the time you’re done, your garage floor will look great and be much more stain-resistant, waterproof, and easier to clean. So roll up your sleeves and let’s get started transforming your garage!
Applying the Primer Coat for an Orlando Garage Floor
To get the best results from your garage floor coating in Orlando, you need to thoroughly clean and prepare the concrete.
First, sweep away any loose dirt or debris. Then, scrub down the entire floor with a degreaser or concrete cleaner to remove built-up grime and oils. Rinse well with water and let it dry completely.
Next, fill in any cracks or holes in the concrete with a concrete filler or floor patch compound. Let it dry as directed. For bigger repairs, you may need to grind down high spots.
Now, etch the concrete with an acid etcher or concrete etcher. This opens up the pores of the concrete so the coating has something to grip onto. Carefully follow the directions and be sure to rinse and neutralize the floor when done.
Once etched and dried, lightly sand the floor with 80-100 grit sandpaper to provide “tooth” for the coating to adhere to. Vacuum up the dust with a shop vac.
Next, apply a concrete primer or basecoat. Let it dry as directed, usually 2-3 hours. This provides an ideal surface for the topcoats of floor coating.
With the right preparation, your garage floor will be ready for a beautiful, long-lasting coating. Take your time with each step, and your floor will look professionally coated for years to come. The effort you put in now will be well worth it!
Installing the Top Coat for a Durable, Professional Orlando Garage Floor Coating
Now that the floor is prepped, it’s time to apply the primer coat. This first coat seals the concrete and provides a base for your topcoats.
To apply the primer, use a roller or brush to coat the entire floor evenly. Let it dry as directed, usually 3 to 5 hours. Once dry, inspect the floor for any spots you missed. Go over those areas with primer before moving on to the next step.
The primer coat is important for several reasons:
•It seals pores in the concrete, preventing air bubbles from forming under the topcoat.
•It provides “tooth” for the topcoat to grip onto. Without primer, the topcoat won’t bond as well and may peel or scratch more easily.
•It creates an even base so your topcoat looks smooth and professional. Uneven areas or cracks in the concrete will show through if you skip the primer.
•It protects the concrete from moisture that could stain or damage the topcoat. The primer acts as a barrier, keeping moisture out.
•It enhances adhesion so your topcoat sticks better. For the most durable finish, primer is a must.
Once the primer has dried completely, you’re ready to start applying topcoats. But take your time – the key to a professional-looking coating is patience. Rushing the job will only lead to drips, uneven areas or brush marks in the finish. Follow the directions and let each coat dry as recommended before adding another. Your patience will pay off with a garage floor that looks like a professional did it!